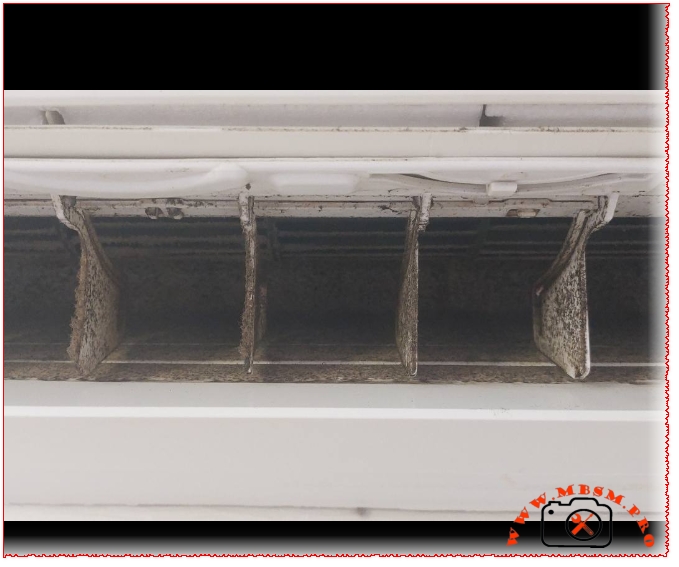
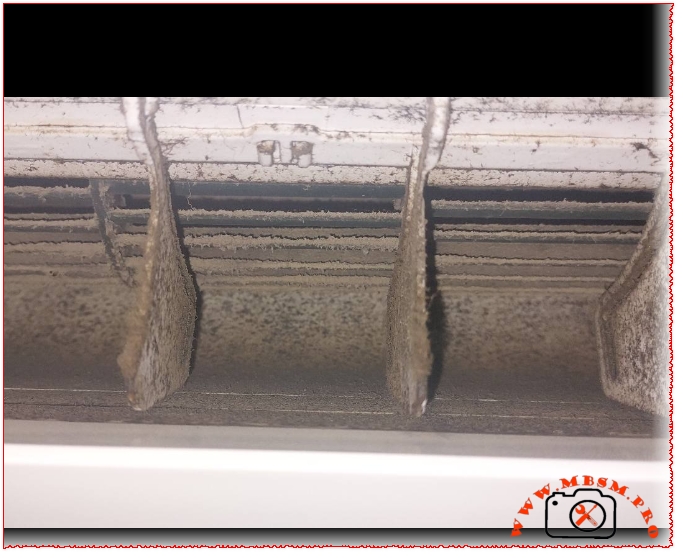
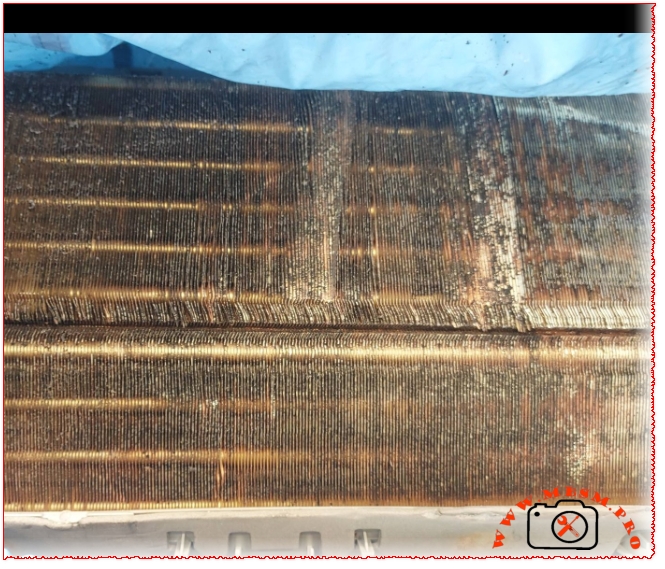
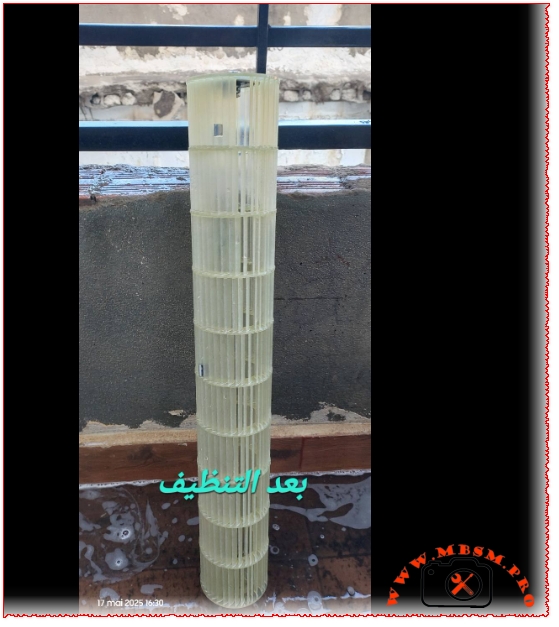
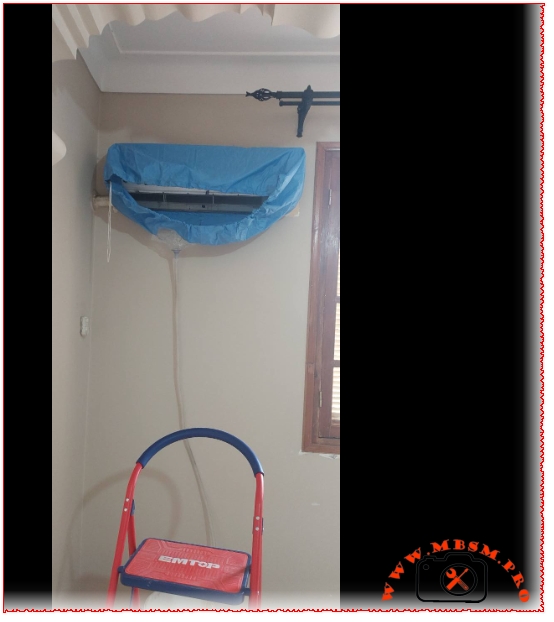
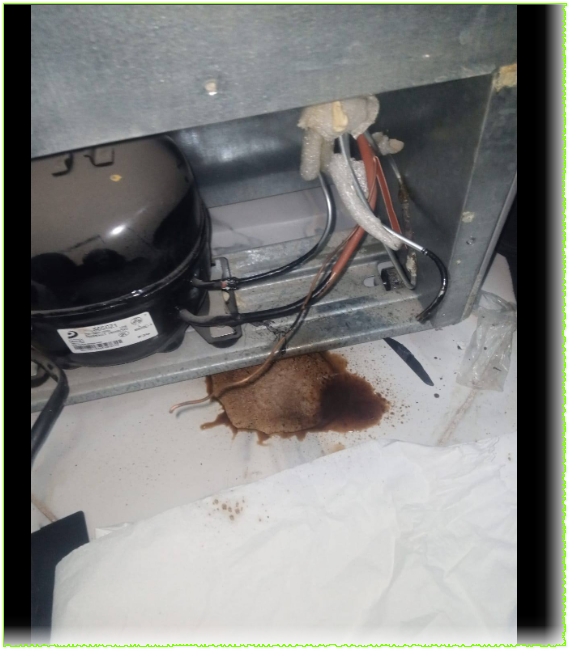
Changing Filter 1/5 Hp
Category: Refrigeration
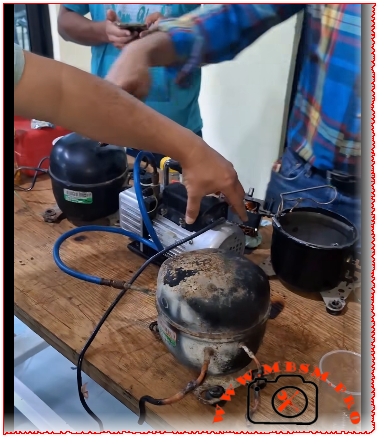
1. Safety First (The “Unplug” Rule)
Before you touch anything, pull the power plug. It’s the easiest way to make sure nothing kicks on while your hands are inside the machine.
2. Relieve the Pressure
If this is a fridge or a water cooler, turn off the water line and try to get one last glass of water out. This drops the pressure so the filter doesn’t “pop” or spray you when you unscrew it. If it’s a compressor, bleed the air tank first.
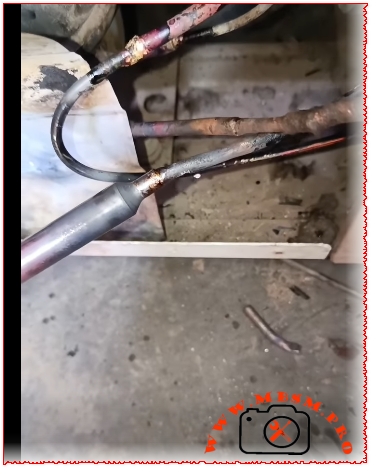
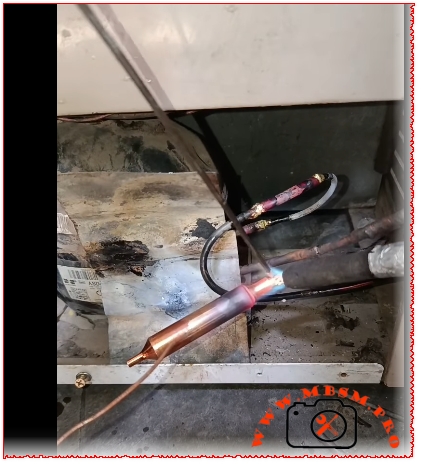
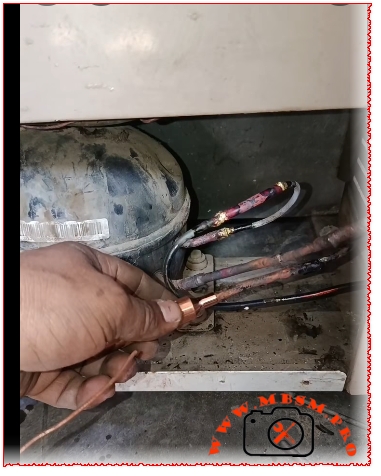
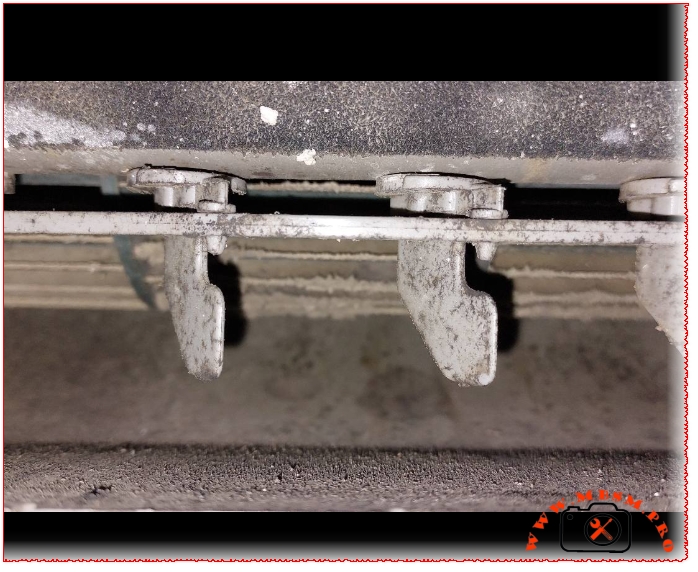
3. The “Left-Loose, Right-Tight” Swap
Most 1/5 Hp systems use a simple twist-lock:
- Remove: Twist the old filter a quarter-turn to the left (counter-clockwise) and pull it straight out.
- Install: Pop the plastic caps off the new filter. Line up the little arrows or notches, push it in firm, and twist to the right until it clicks or stops.
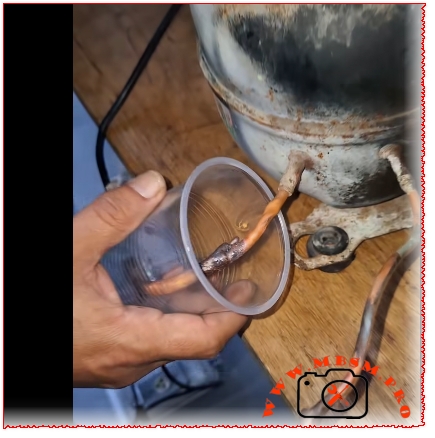
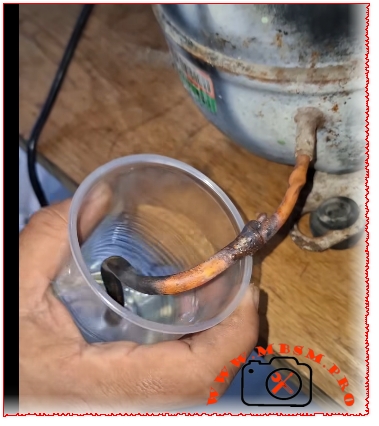
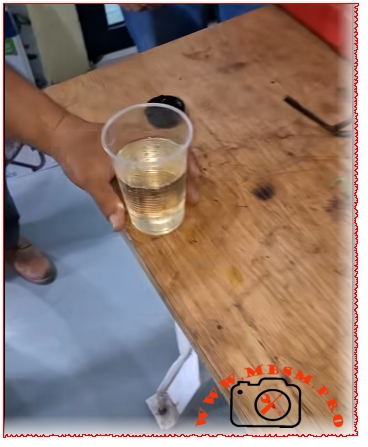
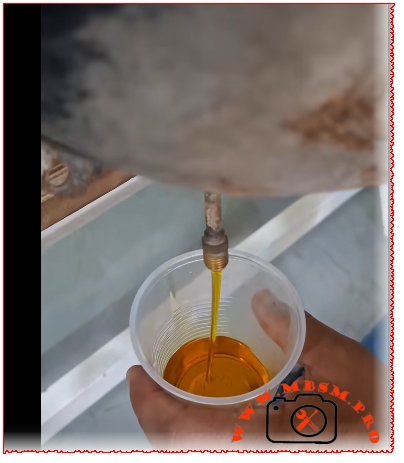
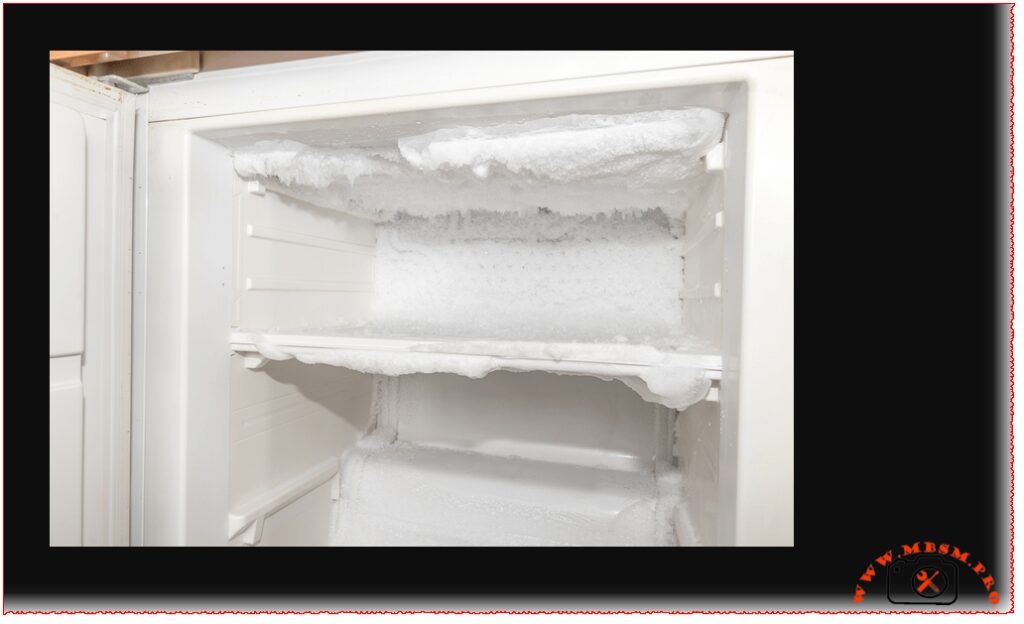
4. The “Grey Water” Trick
If it’s a water filter, the first few cups will look cloudy or even blackish. That’s just harmless carbon dust. Run the water for about 3 to 5 minutes until it’s crystal clear.